
When I have built Android apps in the past I have run into situations where I need to capture a date within the app from the user, like for example capturing the date for a customer’s appointment. Entering a date into a simple EditText field is not a great user experience so Android have created a DatePicker widget that will present the user with a much nicer calendar display to cycle through the months and years and select a particular date from a given month.
When getting the user to capture a date, you may want to restrict what dates in that calendar that they can select. Like if you want to capture a customer’s appointment date, they won’t be booking an appointment for a date that is already in the past. Rather than have the user select the date then validating the date and presenting the user with an error message if the date is not allowed to be chosen, what if there is a better way to disable dates such as dates in the past from being selected?
The Android DatePicker allows you to prevent dates in the past from being selected by using the setMinDate(long minDate) method. To disable dates in the past from being selected, follow the 2 steps below.
- Use the java.util.Calendar class to obtain the current date in milliseconds since January 1, 1970 using Calendar.getInstance().getTimeInMillis()
- Using the DatePicker created in the layout resource, use the setMinDate(long minDate) and pass the value above as a parameter
I have created a code sample below, which is also accessible on GitHub, showing how to set a minimum date in the Android DatePicker, where all dates before this minimum date will be disabled.
In addition to this, I have also researched how you could achieve the following with a DatePicker:
- Disabling all dates outside the range of two dates
- Disabling all dates before a specific date
- Disabling specific days of the week or dates during the year such as public holidays in the DatePicker
Let’s dive in!
Setting a Minimum Selectable Date in the Android DatePicker
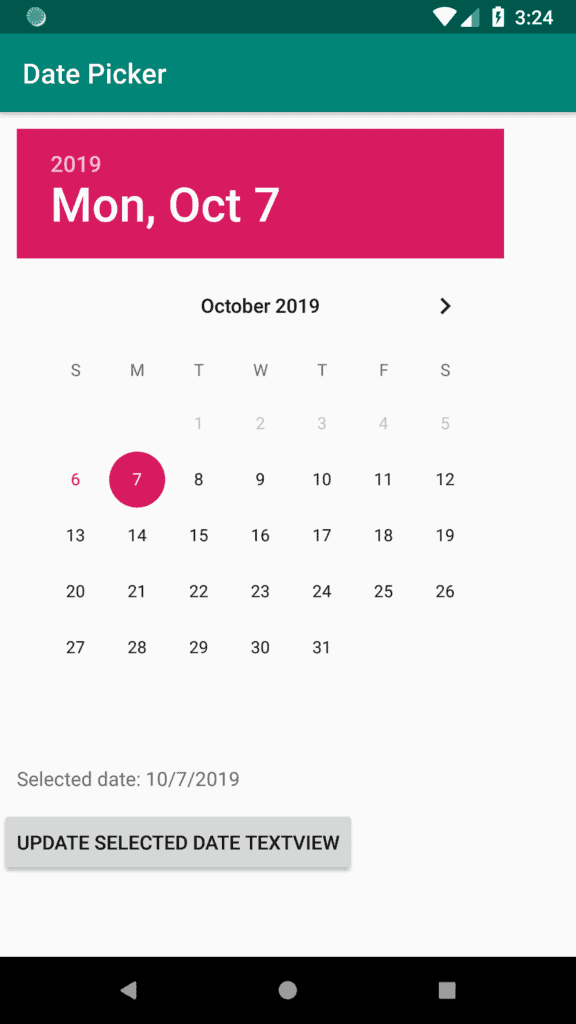
By setting a minimum selectable date on your DatePicker using the setMinDate(…) method, the dates before that will become greyed out and not selectable in the Calendar.
You can view this entire source code for this example in the DatePicker project on the LearnToDroid GitHub account.
Create the Layout Resource
The layout for this example is a LinearLayout with a vertical orientation that includes:
- A DatePicker, which will be used for selecting a particular date from a calendar view
- A TextView, which will show the date that has been selected once the user selects a particular Button
- A Button, which when pressed will update the TextView with the date which was last selected in the DatePicker
Create the Main Activity Class
The Activity class for this example is quite simple, it includes:
- Setting up a listener for the Button, to use the DatePicker’s getMonth(), getDayOfMonth() (NOTE: getDayOfMonth() returns 0 for January and 1 for February, etc.) and getYear() methods to show the selected date in the TextView
- Use of the Calendar class to obtain the current date using the Calendar.getInstance() method and converting it to Unix time using the getTimeInMillis() method
- Using the setMinDate(…) method on the DatePicker class to grey out and disable the selection of dates that occured before the time value passed as a parameter
Example Screenshot
DatePicker with only Days Between Two Dates Selectable
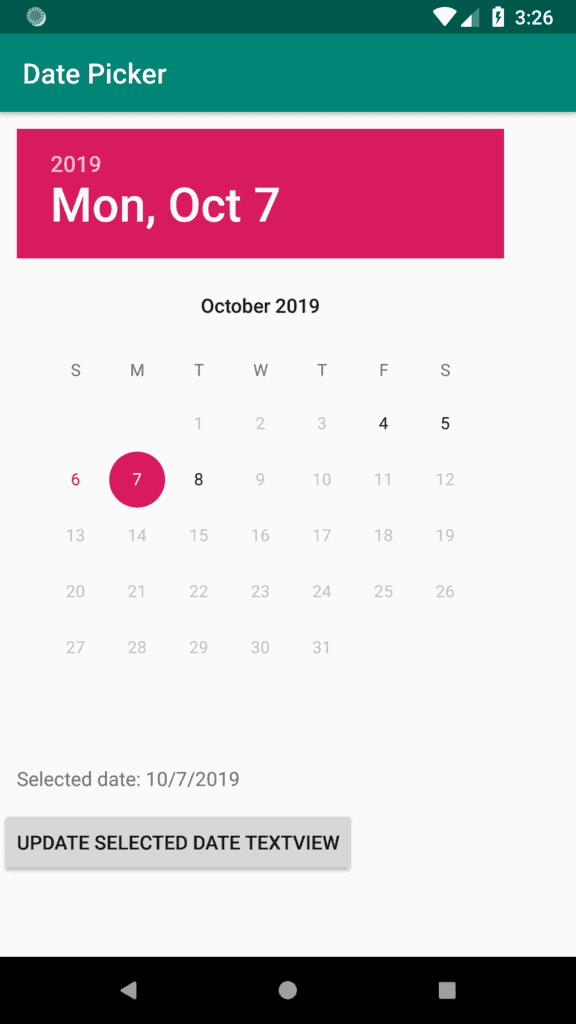
The Android DatePicker also allows you to set both a minimum and maximum date which will prevent dates outside that range from being selected.
You can view this entire source code for this example in the DatePicker project on the LearnToDroid GitHub account.
We will be reusing the same layout resource from the example above.
Create the Main Activity Class
The Activity class for this example is very similar to the example above, a few key differences include:
- Two dates are being used in this example, the first date is two days before the current date, the second date is two days after the current date
- The add method is used on the Calendar class to add and subtract days (Calendar.DATE refers to days) from the current date
- Both setMinDate(..) and setMaxDate(…) are used on the DatePicker to disable the selection of dates that sit outside of the two dates provided
Example Screenshot
DatePicker with only Dates in the Past Selectable
To make only dates in the past selectable using the DatePicker set the maximum date on the DatePicker to the current date. This will prevent you from selecting the current day and days in the future.
If you want to allow the current day to be selected as well, set the maximum date to tomorrow’s date.
DatePicker with only Week Days Selectable
Making only week days selectable in the DatePicker is not supported out of the box. There is however an alternative available to support this requirement. You can use a different DatePicker widget made for Android called MaterialDateTimePicker.
One thing to note with MaterialDateTimePicker is that it relies on AndroidX to work, so you need to configure your Gradle file using the instructions on the README page to avoid running into conflicts during the build process.
In order to restrict the dates to week days only follow the steps below.
- Pick the date you want to start from in the MaterialDateTimePicker, if you want to use the current date it can be obtained using the Calendar.getInstance() method
- Pick the number of days you would like to be selectable in the future
- Check each date from the start date to the final date if they fall on a week day using the day.get(Calendar.DAY_OF_WEEK) method and add they do add them into a collection of Calendar days
- Convert the collection of week days to an Calendar[]
- Initialise a DatePickerDialog by creating a new instance
- Call the setSelectableDays(selectableDays) method on the DatePickerDialog and pass the array of week days
You can view this entire source code for this example in the MaterialDatePicker project on the LearnToDroid GitHub account.
Configure the app build.gradle file to install MaterialDateTimePicker
Setup the Main Activity and Layout Resource
The Activity class for this example includes a single tab TabLayout and a ViewPager of a single Fragment. This Fragment will be where the DatePickerDialog is instantiated. You can also use the DatePickerDialog in a Activity directly as well, check the GitHub page for the library for code samples on how to do this.
Main Activity Layout
Main Activity
Setup the Date Picker Dialog Fragment and Layout Resource
Date Picker Dialog Fragment Layout
The Fragment where we are going create the DatePickerDialog in this example has three buttons.
- The first button that will start the DatePickerDialog in the default mode
- The second button that will start the DatePickerDialog with only weekends from the current date to 365 days in the future selectable
- The third button that will start the DatePickerDialog with only week days from the current date to 365 days in the future selectable
Date Picker Dialog Fragment
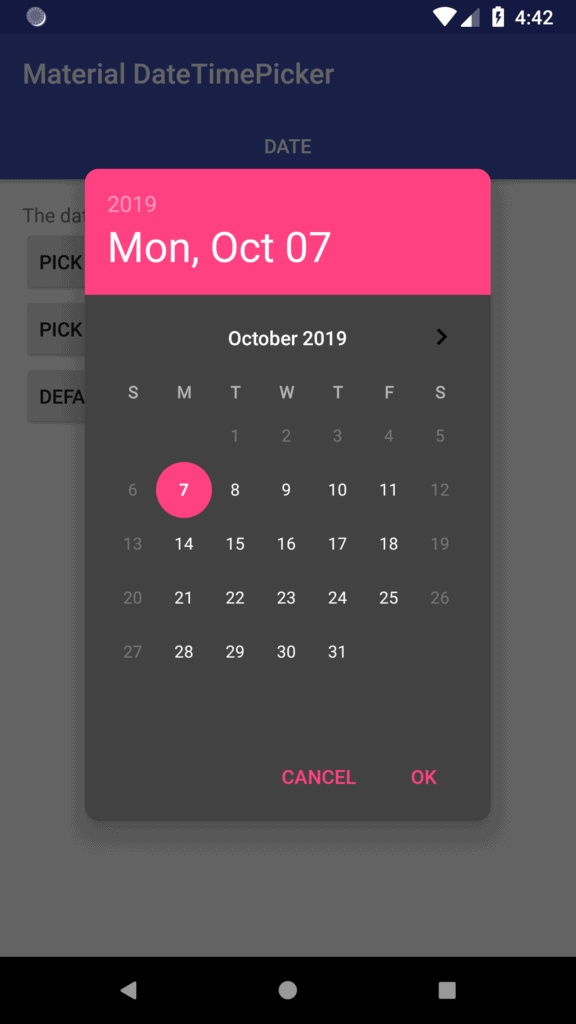
When creating the DatePickerDialog for week days only the example code performs the following:
- It creates a new DatePickerDialog or initialises an existing DatePickerDialog into a default state
- It uses the Calendar class to check each date from today to 365 days in the future to verify if it is a week day by checking it does not fall on Calendar.SATURDAY or Calendar.SUNDAY
- If it doesn’t fall on a weekend it gets added to an ArrayList
- Once complete, it converts the ArrayList into a Calendar[] and uses the setSelectableDays(…) method on the DatePickerDialog to restrict the selectable days to week days only
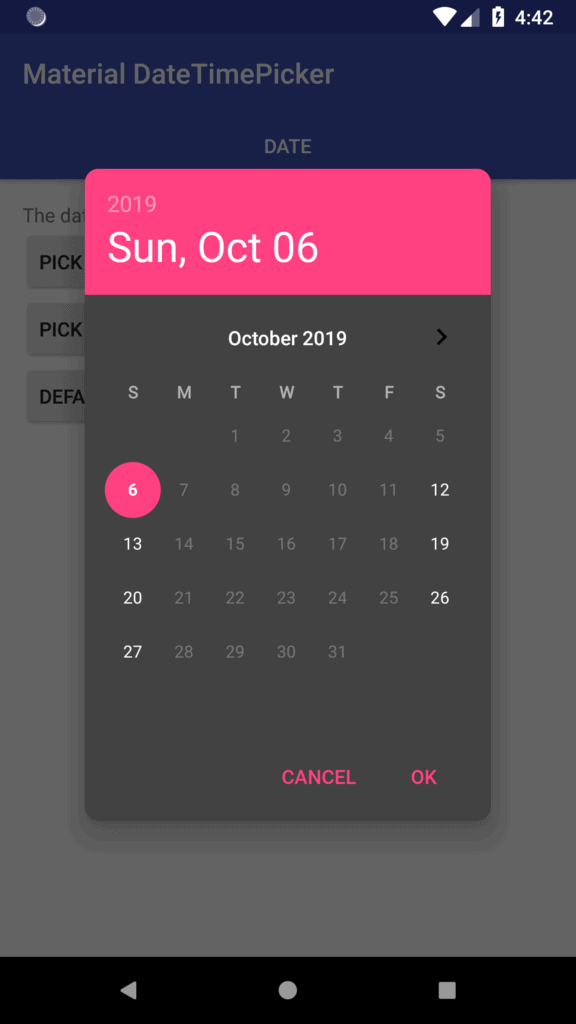
Example Screenshots
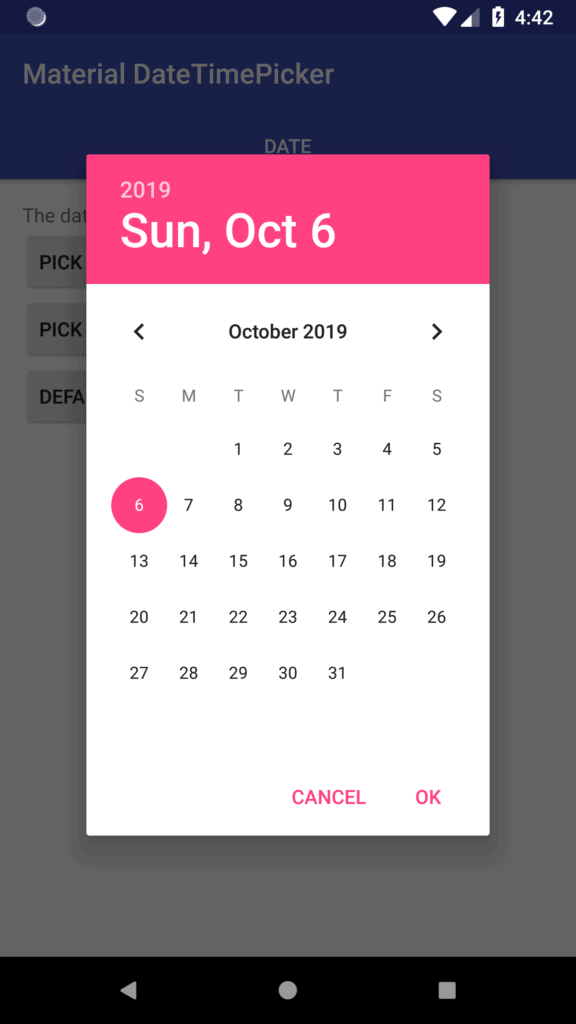
DatePicker with only Week Ends Selectable
It is also possible using the MaterialDateTimePicker to restrict the selectable days to be weekends only. Follow the sample solution above for selecting only days but instead of checking if the day is a week day before adding it to the collection, check if it is a week day by comparing it to Calendar.Saturday or Calendar.Sunday.
Example Screenshots
DatePicker or MaterialDateTimePicker for Disabling Dates
When to use DatePicker
- If you need to disable dates before a specific date
- If you need to disable dates after a specific date
- If you need to disable dates within a range of two dates
- If you need to disable dates outside a range of two dates
When to use MaterialDateTimePicker
- If you need to disable specific individual dates from selection for example public holidays
- If you need to disable a specific category of dates such as weekends, weekdays, Mondays, first days of the month, etc.
Related Questions
Question: How could you prevent specific dates in a year such as a public holidays from being selected?
Answer: The DatePicker widget does not support the ability to disable specific dates, instead I would use the MaterialDateTimePicker to allow you to prevent individual dates from being selected.
You will need to create a collection of these public holidays, if you don’t have this data you would probably want use a public holidays API, Calendarific offers a free holidays API for a limited amount of requests for non commercial use but there are other paid services like the holiday API offered by timeanddate the programmable web has a good list of holiday APIs to select from.
After creating a new instance of the DatePickerDialog, use the setDisabledDays(disabledDays) method and pass the array of public holidays (in Calendar form).