
I was playing around with a demo I found online that uses the Watson Text to Speech platform from IBM and I was really impressed with the quality of speech that was generated.
Following that, I did some research on how I could integrate the Watson Text to Speech service with an Android app and I have put together a step by step guide on how to accomplish this.
To use IBM Watson’s Text to Speech service in an Android app you will need to:
- Create an IBM Cloud Account
- Enable the Text to Speech Service and Obtain your API Key
- Add the IBM Watson SDK to your Android project with Gradle and Enable the INTERNET permission in the Manifest file
- Provide the Text and the Voice to use to the IBM Watson Text to Speech Service using the SDK
- Retrieve the Response Containing an Audio File and Save it into Internal Storage
- Play the Audio file using the Android MediaPlayer API
In this tutorial, I will walk you through each of these steps in detail and provide code samples embedded in this blog post that are also available for free on GitHub.
I have also created a video of this tutorial that is available on YouTube which I have embedded below.
Android Watson Text to Speech Tutorial
Creating an IBM Cloud Account
In order to use IBM’s Watson Text to Speech service, you will need to create an IBM Cloud account.
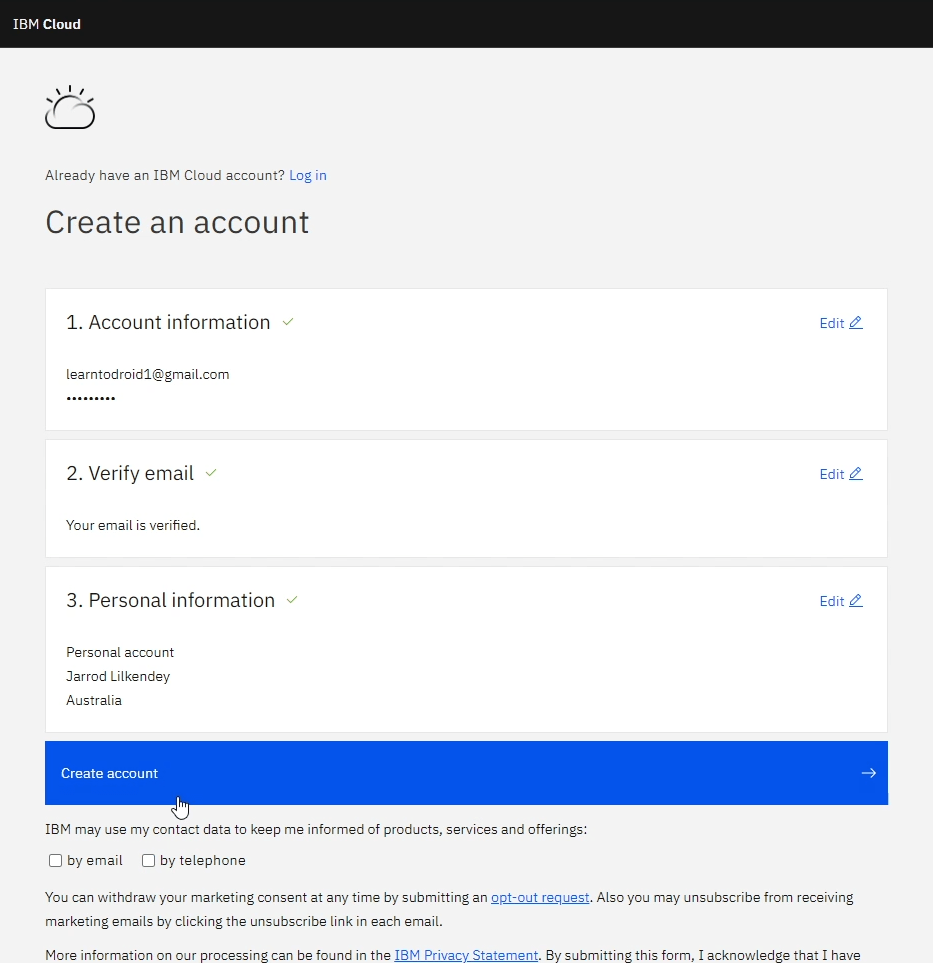
Navigate to the IBM Cloud account registration form in a web browser and fill out account information with an email address and password.
Then you will need to verify your email address using a code sent via email.
After that you will need to enter some personal information for your account, then you can select the “Create account” button.
Enabling Text to Speech and Obtaining API Key
Now that you have created an IBM Cloud account, what you will need to do next is create a Text to Speech resource you can use against your account.
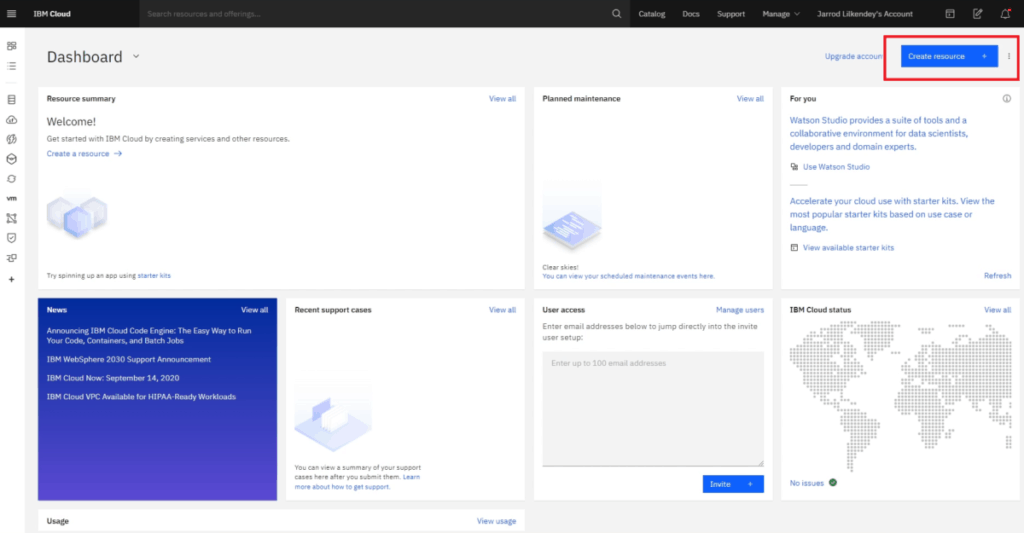
In the IBM Cloud home screen, select the “Create resource” button in the top right section of the screen.
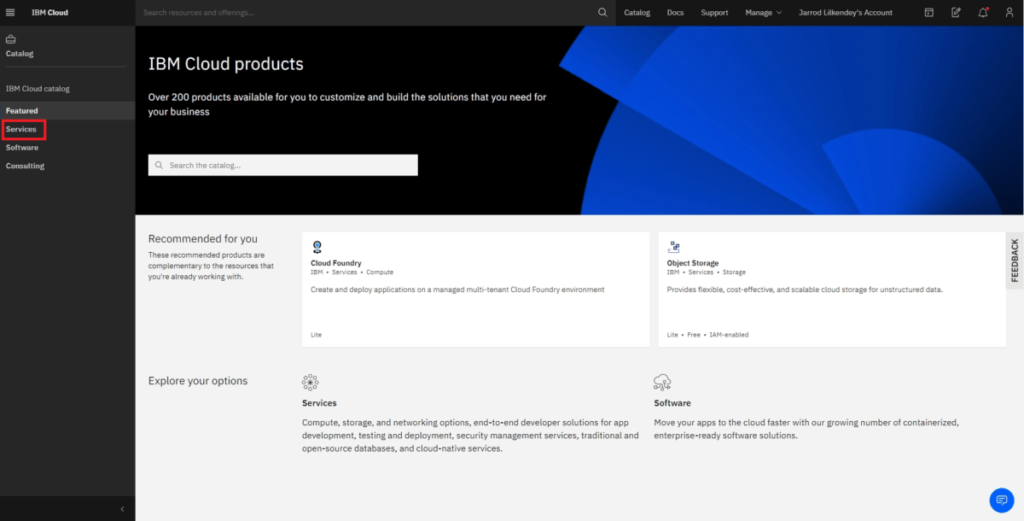
After that, go into the “Services” section and search for “Text to Speech” in the service catalogue.
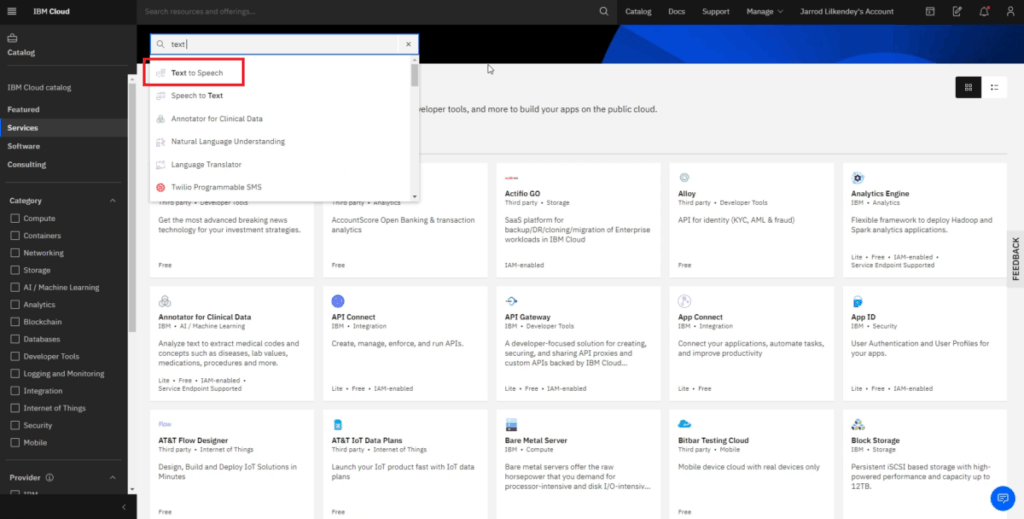
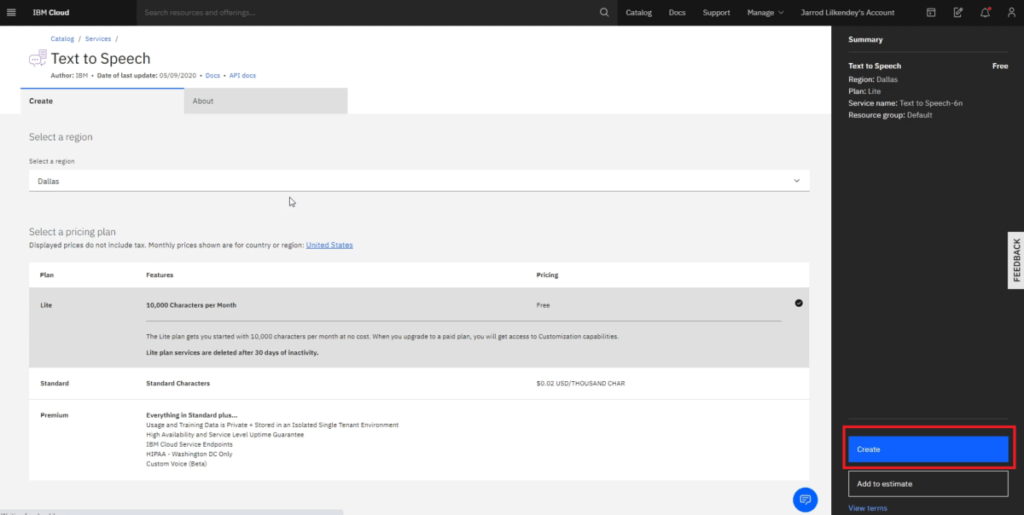
Select the “Text to Speech” service, from there you are able to pick the region your service will be based in. We will want to use the Lite Plan for our Text to Speech service, which currently allows you to perform text to speech on up to 10,000 characters for free per month.
When you are ready to create the service, select the “Create” button.
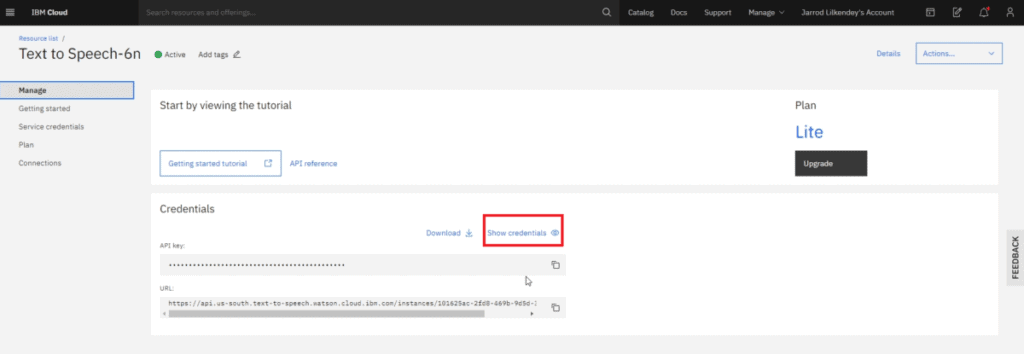
Once the service has been created, go into the Manage section and note the API key and the base URL of the URL shown in this screen which we will copy over to our Android app in a subsequent step.
Retrieve Gradle Dependencies and Manifest Updates
In this section of the tutorial, we will create a new Android project in Android Studio, then we will make changes to the app manifest file and the app level build.gradle file.
Once you have created a new Android project, open the app level build.gradle file where we make two changes.
In the dependencies section of the app level build.gradle file, we will add a new line to retrieve the IBM Watson dependency.
In addition to this, we will a line in the defaultConfig section to enable multi dex.
See the sample app level build.gradle file below.
In the app’s manifest file we will need to add the INTERNET permission as we will invoke the Text to Speech service over the Internet.
See the sample app manifest file containing the INTERNET permission below.
Invoke the Watson Text to Speech Service Passing the Text and the Selected Voice
In this section of the tutorial, we will invoke the Text to Speech API via the Watson SDK passing the text we want to convert to speech and the voice that we have chosen.
In the layout resource for the MainActivity, we will add an EditText that will contain the text we want to convert to speech along with a Button which when selected will invoke the Text to Speech service.
In the MainActivity class, we will create two constants at the start of the class containing the API key and the URL for interacting with the Text to Speeech service.
In the onCreate method, we will set up variables for the EditText and the Button. For the Button we will add an OnClickListener.
Inside the onClick method in the OnClickListener, we will instantiate a new Thread passing a new Runnable.
Inside the Runnable in the run method, we will retrieve the text we want to convert to speech from the EditText and check that it has been populated.
If there is text populated, we will then invoke a new method we will create for interacting with the Watson Text to Speech service called createSoundFile where we will pass the text and a voice to use as parameters.
Before we can invoke the Text To Speech service, we will need to create an IamAuthenticator object passing the API key as a parameter.
From there we can create a TextToSpeech object passing the IamAuthenticator object as a parameter. For the TextToSpeech object we will need to invoke the setServiceUrl method passing the base URL of our Watson Text To Speech Service available in the IBM Cloud console.
Then, we will need to construct an object containing SynthesizeOptions using the builder. With the builder we will set the text we want to use, we will provide to format of the audio file we want to receive as “audio/mp3” and we will give the voice option we want to use.
After that, we can invoke the Text To Speech service by calling the synthesize method on the TextToSpeech object passing the SynthesizeOptions as a parameter and invoking the execute method.
After the Thread has been instantiated, we will execute it using the start method on the Thread.
See the code sample for the MainActivity class below.
Save the Audio File Containing Speech into Internal Storage
In this step of the tutorial, we will save the audio file we receive in the response from the Text to Speech service containing the speech into internal storage.
I had added some lines to the createSoundFile method which opens an InputStream on the result retrieved from the Text to Speech service.
From there a new file is created is internal storage where we will write the contents of the response using a byte array with a predefined buffer size.
See the code sample for the MainActivity class below.
Play the Audio File Containing Speech using the Android MediaPlayer API
Next, we will create a new method to play the sound file containing the speech once it is retrieved from the Text to Speech service.
We will create a new method called playSoundFile which will take a String parameter containing the name of the file in internal storage that contains speech.
In the playSoundFile method, we will create a reference to the File in internal storage by creating a File object passing the internal storage files directory along with the name of the file.
Using the File object, we will retrieve the Uri of the File which can be consumed by the MediaPlayer API.
Next, we will create a new MediaPlayer object, we will configure the MediaPlayer object to play audio by invoking the setAudioAttributes method or the setAudioStreamType method depending on the Android SDK version.
After that, the Uri of the audio file will be provided to the MediaPlayer using the setDataSource method passing the Uri as a parameter.
Then, we will call the setOnPreparedListener method on the MediaPlayer and create a new OnPreparedListener which invokes the start media on the MediaPlayer in the onPrepared method.
After that, we will invoke the prepareAsync method on the MediaPlayer to play the audio file.
Then finally, the playSoundFile method is added in the run method after the createSoundFile method is called inside the OnClickListener added to the Button.
See the code sample for the MainActivity class below.